How to **Set Up a VPN on Mac** – A Comprehensive Guide
In today’s digital age, protecting your online privacy is more important than ever. One effective way to do this is by using a Virtual Private Network (VPN). This article will provide you with an in-depth guide on how to setup VPN on Mac. Whether you are a novice or an experienced user, this guide will help you navigate the process to ensure your online activities remain secure.
What is a VPN?
A VPN, or Virtual Private Network, is a service that creates a secure connection over the internet between your device and the websites you access. By using a VPN, your internet traffic is routed through an encrypted tunnel, keeping your data safe from prying eyes.
Benefits of Using a VPN
Using a VPN comes with several advantages:
- Enhanced Security: Protects your data from hackers, especially on public Wi-Fi networks.
- Improved Privacy: Masks your IP address, making your online activities less trackable.
- Access to Restricted Content: Lets you bypass geo-restrictions and access websites or services unavailable in your region.
- Anonymity: Helps you browse the internet anonymously, providing a level of privacy that is hard to achieve otherwise.
Choosing a VPN Provider
Before you can setup VPN on Mac, you’ll need to choose a reliable VPN provider. While there are many options available, it’s crucial to select one that best fits your needs.
Key Factors to Consider
- Speed: A good VPN should offer high-speed connections to avoid buffering when streaming or downloading.
- Security Features: Look for providers that offer robust encryption standards and have a no-logs policy.
- Server Locations: More server options mean better chances of accessing geo-restricted content.
- User-Friendly Interface: The VPN application should be easy to use, even for beginners.
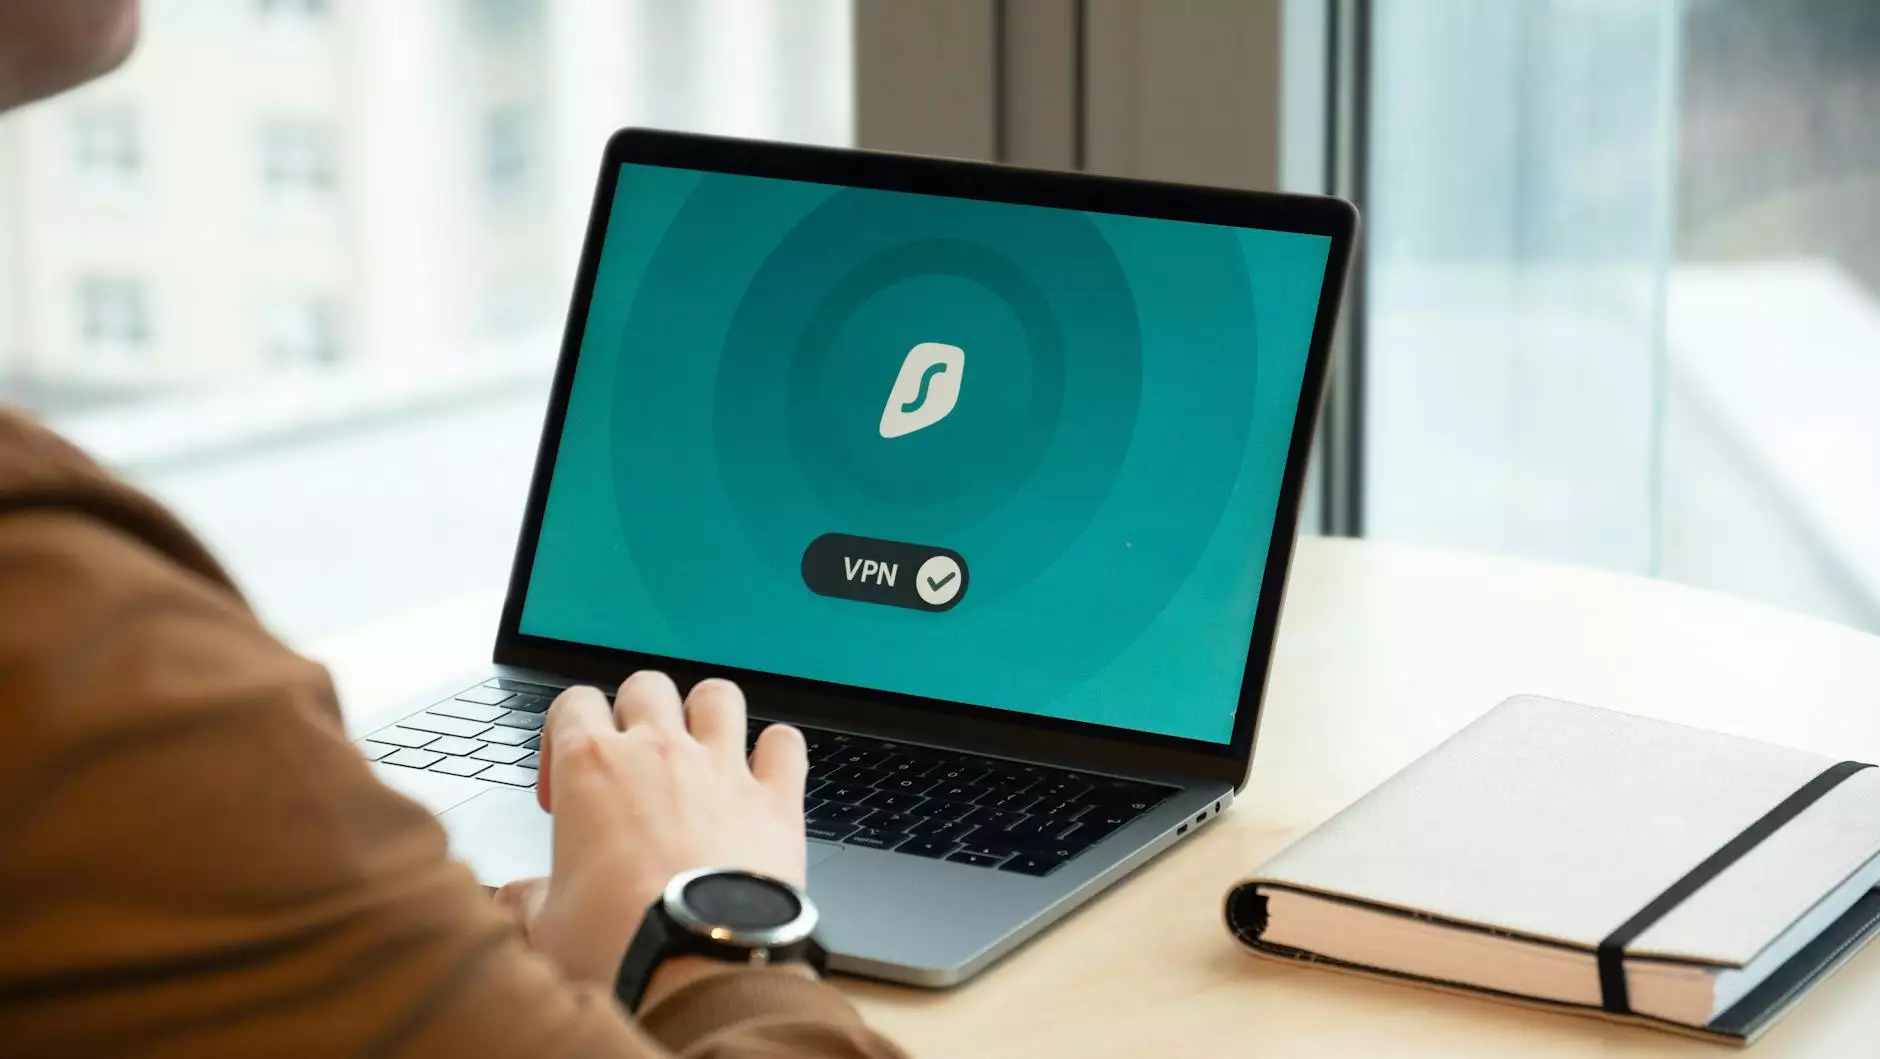
Setting Up Your VPN on Mac
Now that you’ve selected your preferred VPN provider, let’s dive into the steps necessary to setup VPN on Mac. This process is straightforward and can be done in just a few minutes.
Step 1: Subscribe to a VPN Service
The first step is to subscribe to a reputable VPN service. This usually involves:
- Visiting the official website of your chosen VPN provider.
- Selecting a subscription plan that meets your needs.
- Creating an account and completing the payment process.
Step 2: Download and Install the VPN Application
After subscribing, you will need to download the VPN application for Mac:
- Log in to your VPN account on the provider's website.
- Locate the download link for macOS.
- Download and install the application by dragging it to the Applications folder.
Step 3: Launch the VPN Application
Once the installation is complete:
- Open the Applications folder and launch the VPN app.
- Log in with your account credentials.
Step 4: Configure VPN Settings
Before connecting, it’s important to configure your VPN settings for optimal performance:
- Choose the protocol best suited for your needs (e.g., OpenVPN, IKEv2, etc.).
- Enable the kill switch feature if available, which disconnects your internet if the VPN connection drops.
- Check if there are options for split tunneling, allowing you to choose which apps use the VPN connection.
Step 5: Connect to a VPN Server
After configuring the settings, you can connect to a VPN server:
- Select a server location that you want to connect to.
- Click the Connect button to establish the VPN connection.
Step 6: Verify Your Connection
Once connected, it’s a good idea to verify that your VPN is working correctly:
- Visit a website like WhatIsMyIP.com to see if your IP address has changed.
- Check if your location reflects the server you connected to.
Troubleshooting Common Issues
If you experience connection issues during your setup VPN on Mac process, don’t worry. Here are some common troubleshooting tips:
1. Check Your Internet Connection
Ensure your basic internet connection is working before consulting other solutions.
2. Reboot the Application and Your Mac
A simple restart of the VPN application or your device can often fix connection issues.
3. Change Server Locations
If one server is not working, try connecting to a different server provided by your VPN.
4. Update the VPN Application
Make sure you are using the latest version of the VPN application, as updates often fix bugs and improve performance.
5. Contact Customer Support
If all else fails, reach out to your VPN provider’s customer support for assistance.
Conclusion
Setting up a VPN on your Mac is a crucial step towards enhancing your online security and confidentiality. By following the steps outlined above, you can easily setup VPN on Mac and enjoy secure browsing, anonymous surfing, and the ability to bypass geo-restrictions.
In a time when data privacy is under constant threat, taking the proactive measure of using a VPN is not just smart—it's necessary. Explore your chosen VPN's capabilities, utilize its features, and enjoy safer internet browsing today!
Ready to Enhance Your Privacy?
Visit ZoogVPN to explore a range of VPN services designed to keep your online activities secure!